Engine Tutorial - 01 - Waifu and Dating
Time to start working on the jam. Despite having a pretty tiresome day at work, I'd still like to have something done today. So let's go over a few basics of the engine by finding a starting point for the jam game. I'll also use this as a chance to make an engine tutorial and show how some of the features work in practice.
Now, I'd like to start by saying that I decided to make this game accessible from the menu in my main game. I also consulted this with the artist responsible for providing the assets, and they are ok with it. So that's what I'm going to do.
Usually, the starting point of the game is the automata\setup\begin.state file (which is stored in data.zip b.t.w.), but I'd like to find another starting point for it. Let's just make the file at automata\waifu\begin.state. And then navigate into it from a menu. That will be the bonus menu (located at automata\bonus\choice.state). Let's look at that file for a moment.
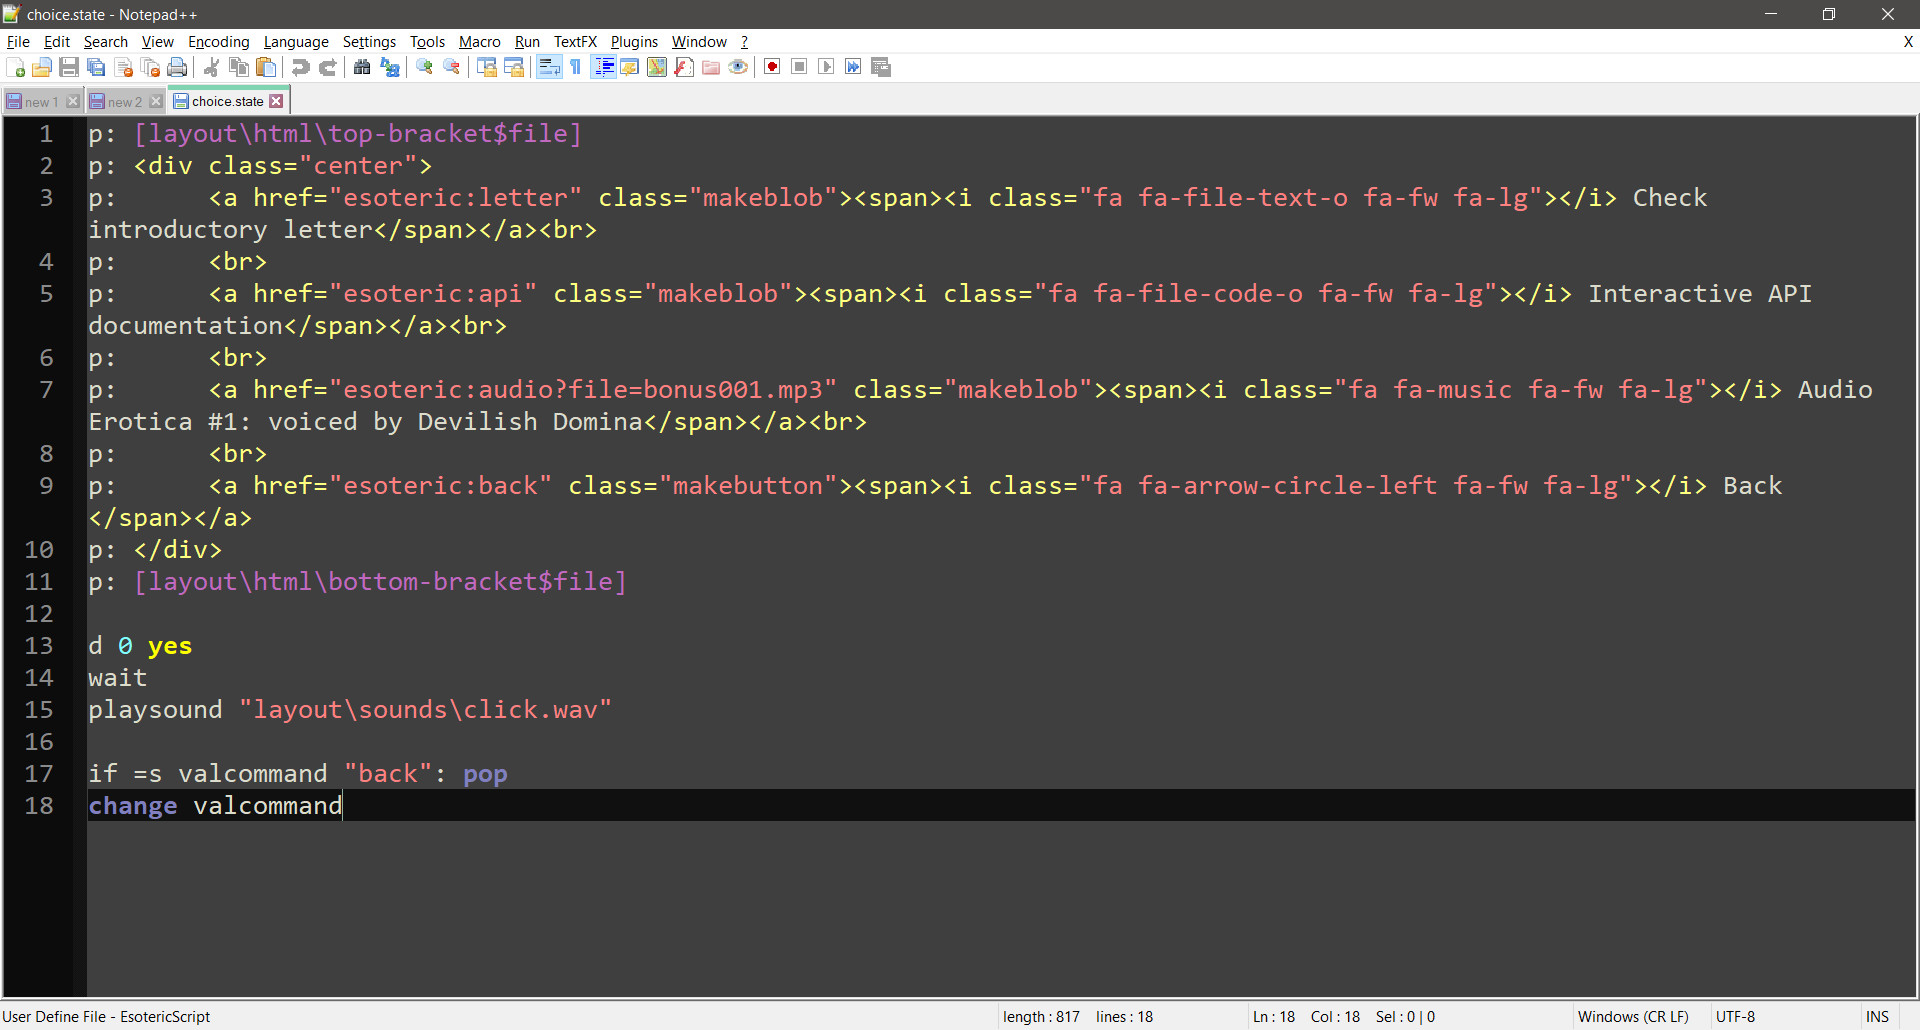
This state builds a simple menu using HTML using the p (print) statement. CSS classes are sourced from the layout\css\layout.css file, while the two grammatical constructs at line 1 and 11 (you can tell those apart by colour and the usage of [square brackets]) read files found at the indicated locations. I'll get back to what lines 13 to 15 do once we get deeper into this tutorial.
The important thing I'd like to point out here is the change statement at line 18. This is a lateral move. The current automaton will change from state to state. Right now, it changes to valcommand; this statement gets the value of the last esoteric call from a hyperlink. So if we activate the hyperlink generated at line 7, the value returned by valcommand is "audio". This would pass execution over to automata\bonus\audio.state. So that we don't create unneeded specialised cases for running our waifu game, we'll add a state to the automata\bonus automaton.
But first, let's add a new option to the menu.
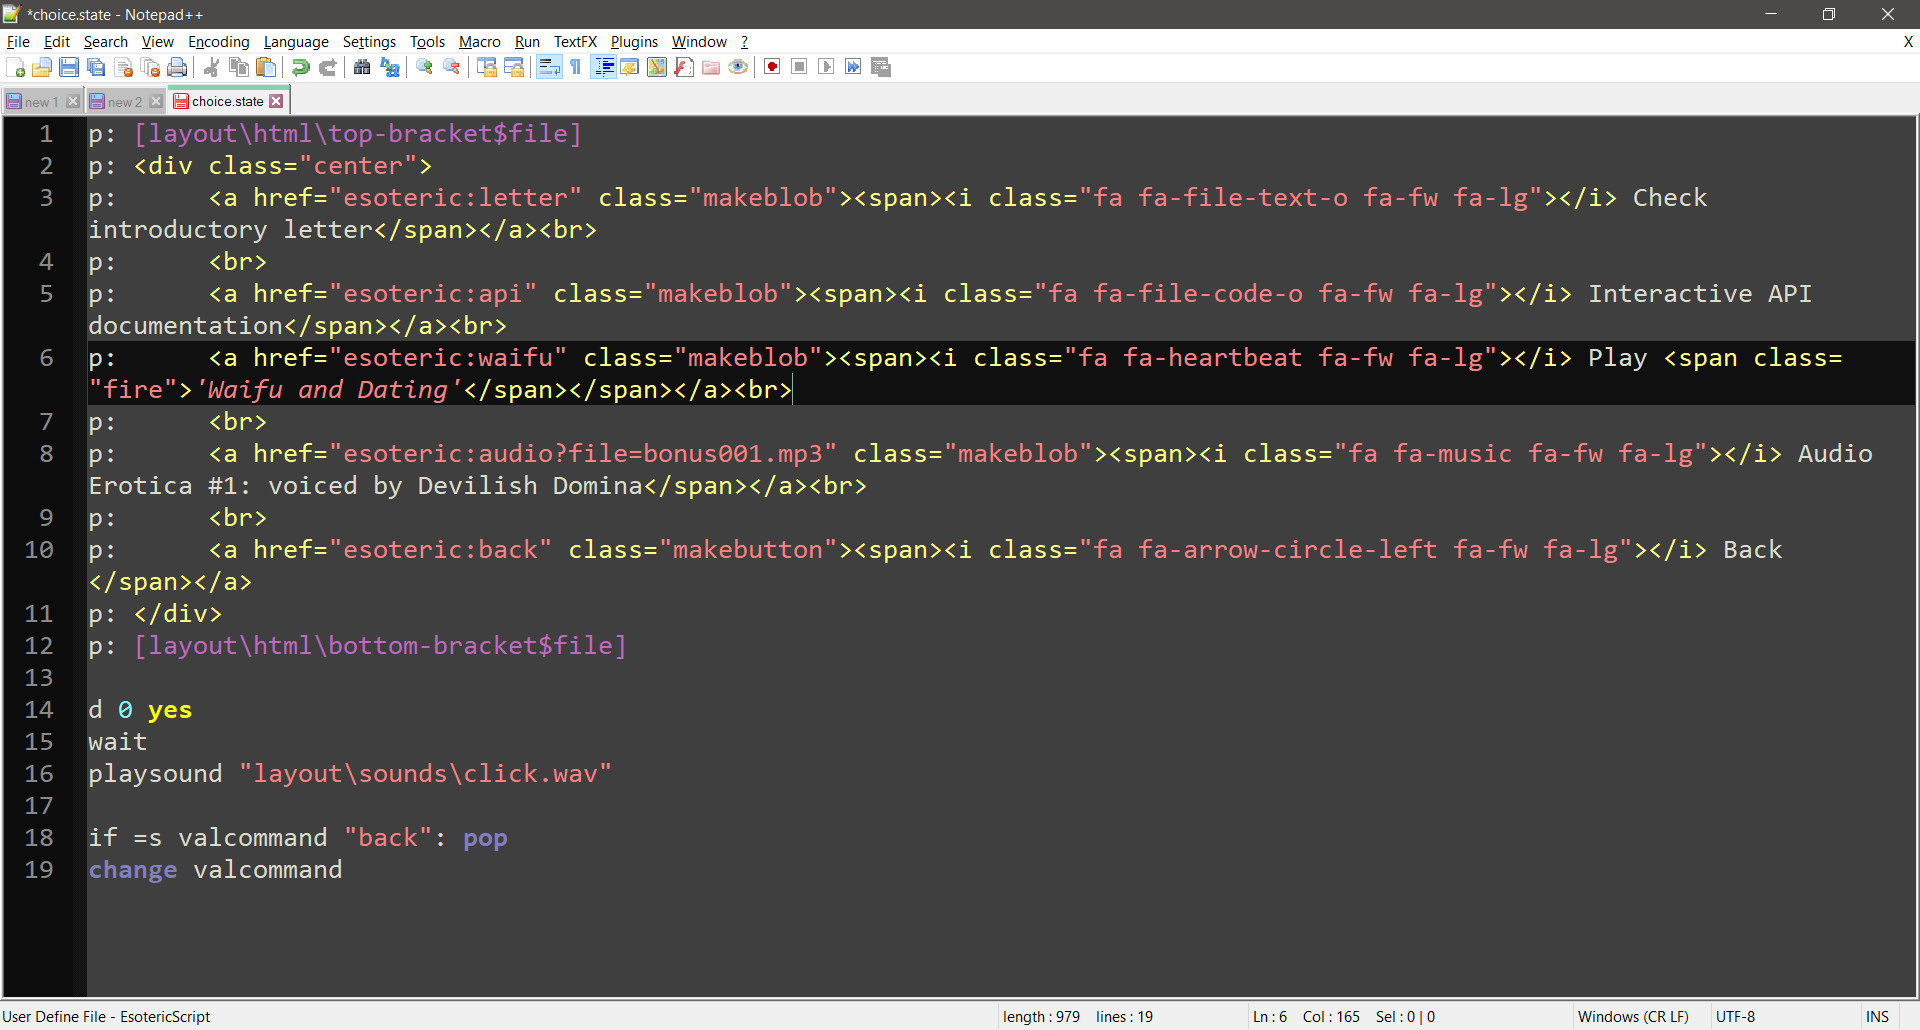
The fire class makes text glowy; I might remove it later. The general idea is that you can pretty much use most HTML to build interfaces and interactive elements can be arranged using hyperlinks or JS. There's no need to use JS here. The fa prefixed classes are from Font Awesome, which I used for icons. Once you run the code, this is what you'll see after opening the bonus menu:

Right now, if we click that it's going to crash the game due to a missing file. Let's make that file; it'll be automata\bonus\waifu.state:
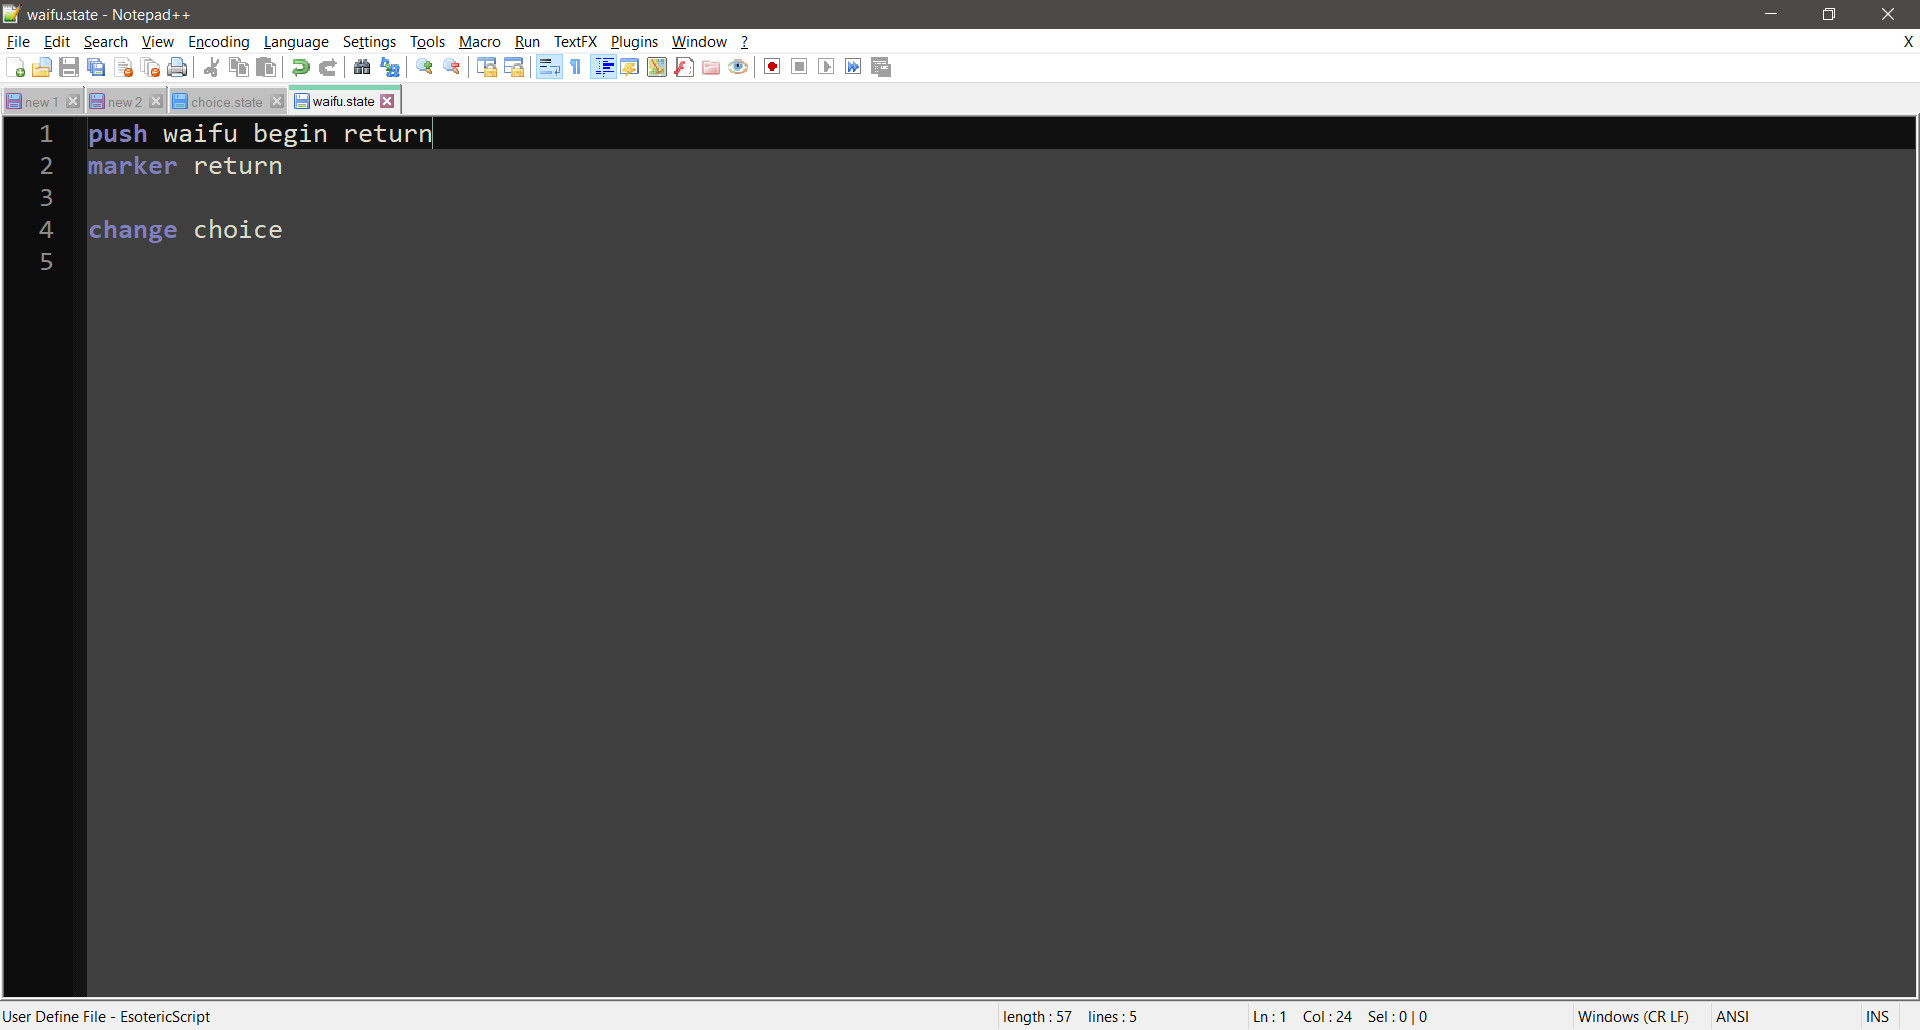
This file serves only to re-route us to the minigame's automaton; the entry point is the file I mentioned earlier. But let's unpack what's happening here. In line 1, we push a new automaton onto the stack. This is not dissimilar to calling a function in a conventional language. Control will be transferred over to that new state file, and will return when the nested automaton (waifu) calls a pop statement. At that point, control will return to this state, at the marker tagged "return", which we can see in line 2. Line 4 will pass control from this file to choice, which will print the menu once more.
Finally, we can move to the first file in the new game and set something up — just a simple bit of text. To be clear, the file we're currently working with is automata\waifu\begin.state:
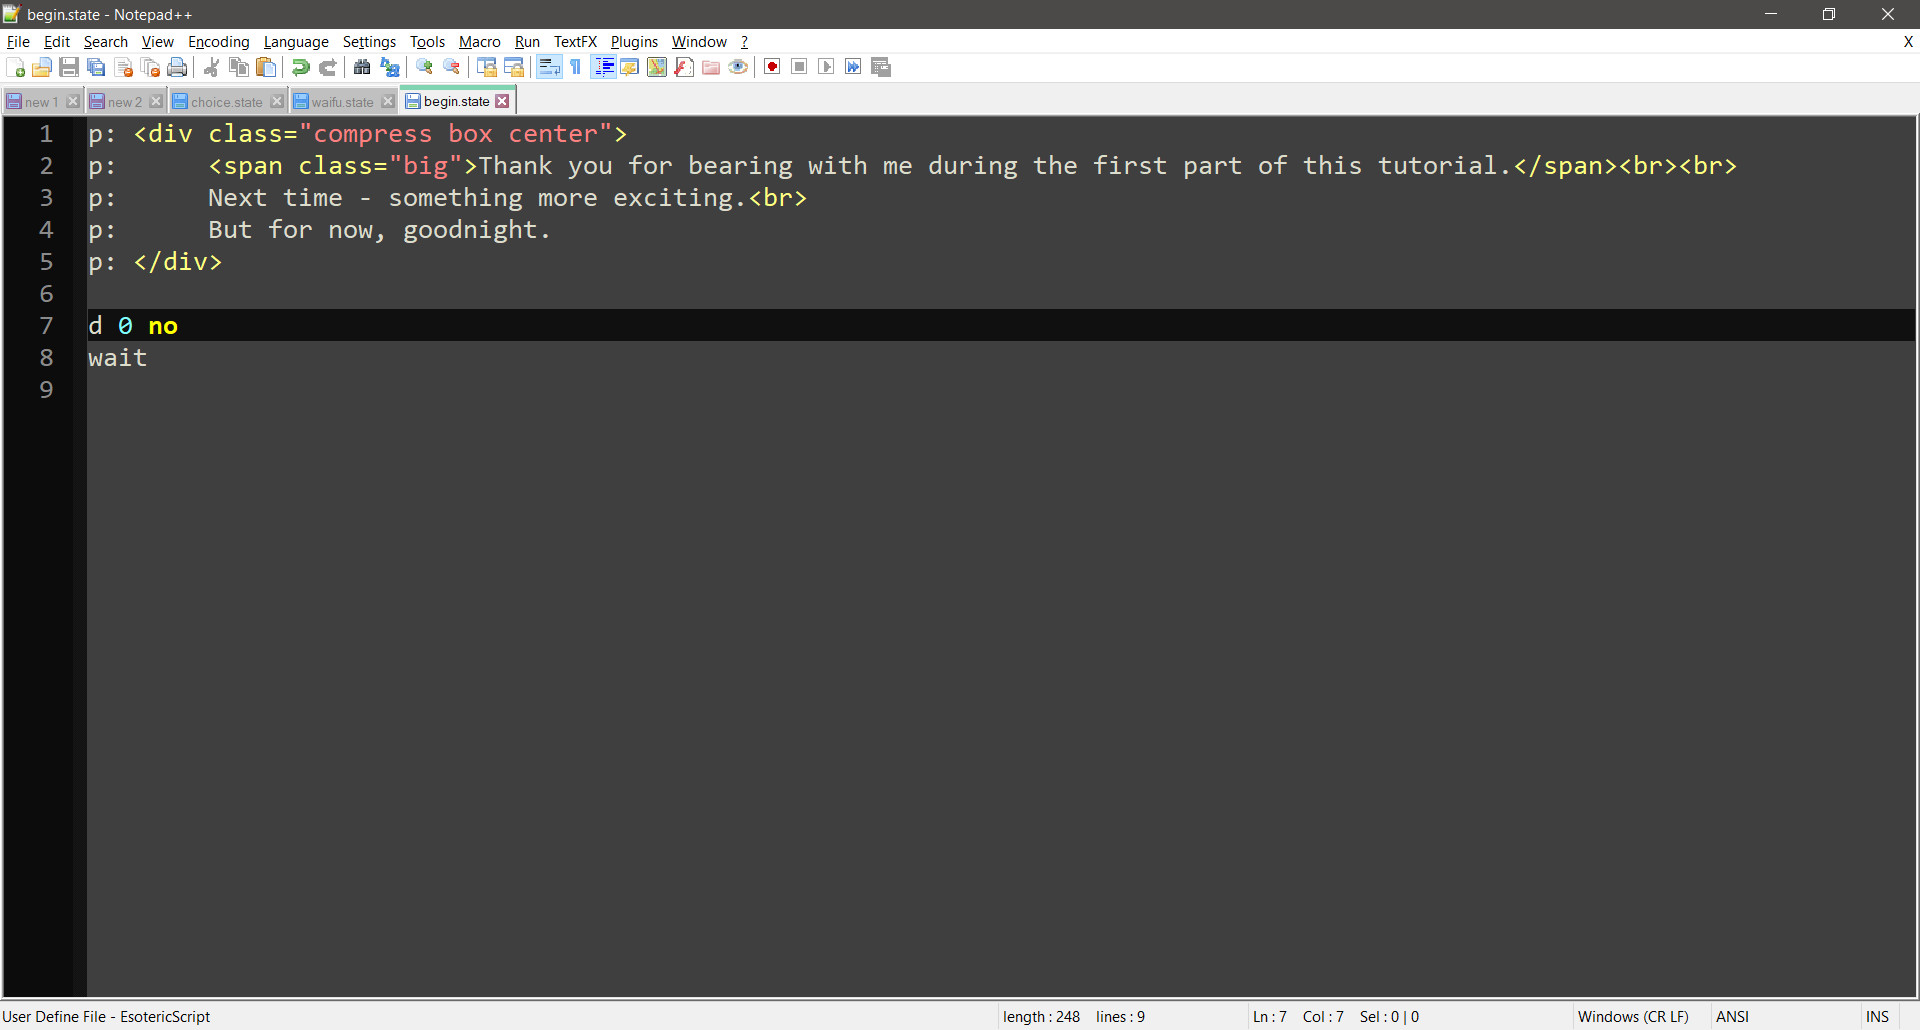
Here let's focus on the point of the d statement. This calls the engine to commit a segment for display, with two parameters that specify the details of this commit. The first is weight. To put it simply, the backlog of the game (which you can see if you scroll up) holds only a finite weight of text. The second marks the segment as transient, or in this case not. Transient segments are removed from the backlog once they are displayed once; hence they are used for UI. The wait statement makes the engine await input. Since there's no possible input here, we'll find ourselves unable to do anything.
When we try to navigate here using the new option in the bonus menu, we'll see this:
Leave a comment
Log in with itch.io to leave a comment.